Showing posts with label Glaze. Show all posts

Monday, September 23, 2013

The fair and look at all this furniture I have!

The fair was a lot of fun aside from the pouring down rain that happened about two hours before it was time to pack up and head home, and lasted until...oh, some time after I fell asleep. I packed up my furniture as best I could but it still ended up getting wet. I have some touching up to do unfortunately. Rain was forecastes, scattered thunderstorms it said. No, more like torrential downpours for several hours! If I'd known it was going to rain like that I might have passed on the fair and waited for better weather for the next. Oh well. Here's a little look at it. First pic is my little set up.


I refinished several pieces for the fair so this post is going to be loaded with befores and afters! And here we go. :)

First up we have a legged side table. A little beat up she still had a lot of character. The key for a great piece is to pay attention to nothing else but the bones. Color and hardware can be changed. I painted her teal and aged the hardware in TSP for several days. It added a nice green patina. I wasn't happy with the color so she ended up taking a back seat for a while. A few months later and I was inspired. So I painted white over the teal and then heavily distressed it to show the teal through it. Now I'm happy with how she turned out.


Next up is a vanity. Yes, you see a mirror in the before picture. I have cats that like to go into the garage and climb on things so one of those buggers knocked the mirror off of a dresser and broke it. :( Ah well, it works just as well as a small writing desk or someone can add a pretty little mirror they find somewhere. I painted her Symphony purple, antiqued and then white washed a little. I sprayed the hardware silver, distressed it and then glazed them to age them and distressed the vanity some.


I might actually have a buyer for her so perhaps she'll be going to her new home on Friday.

Next, I've had this night stand for a while but again was not inspired. I guess sometimes it takes some time. I finally decided on Blue Lagoon. I painted the body and the hardware and then lightly distressed to show the white underneath. It has a beachy vibe now that I like.


This tiered table is a new acquisition. I painted her a custom mixed blue and then stenciled a quatrefoil design on the top middle tier in white.


This dresser set was a nice score. Here is a Craigslist tip. When I called about the tall dresser I didn't know about the other dresser that the same seller had listed. They told me there was someone coming to take a look and they'd get back to me if they didn't buy it. Once I saw the other listing I texted back immediately and said that I'd take both. That changes peoples' minds because they are obviously trying to get rid of these pieces and the less time they have to deal with calls and texts the better so they told me to come on and I got them both for about $20 less than they were asking for both separately. They both needed a little work before I could paint them (as most pieces do) but I got a great deal on them. I painted them both Regatta Blue and then distressed very lightly and antiqued them. I also sprayed the hardware silver and glazed them to antique them a little.


The long dresser was actually missing one of its pulls so I replaced two with pretty glass knobs. It looks really nice.

Alright, last but not least is a large nightstand and boy is this thing heavy. This is such a beautiful piece! I'm seriously wanting to keep this one but white furniture in my house? Eh, I have three large dogs, two black labs and a husky. They might as well be children. That and I don't know where I'd put it. We're full right now. At some point I do want to switch out my furniture to match our style a bit more but we've been busy and we're saving up so my husband can get braces. Yeah...OK, so here she is! :)


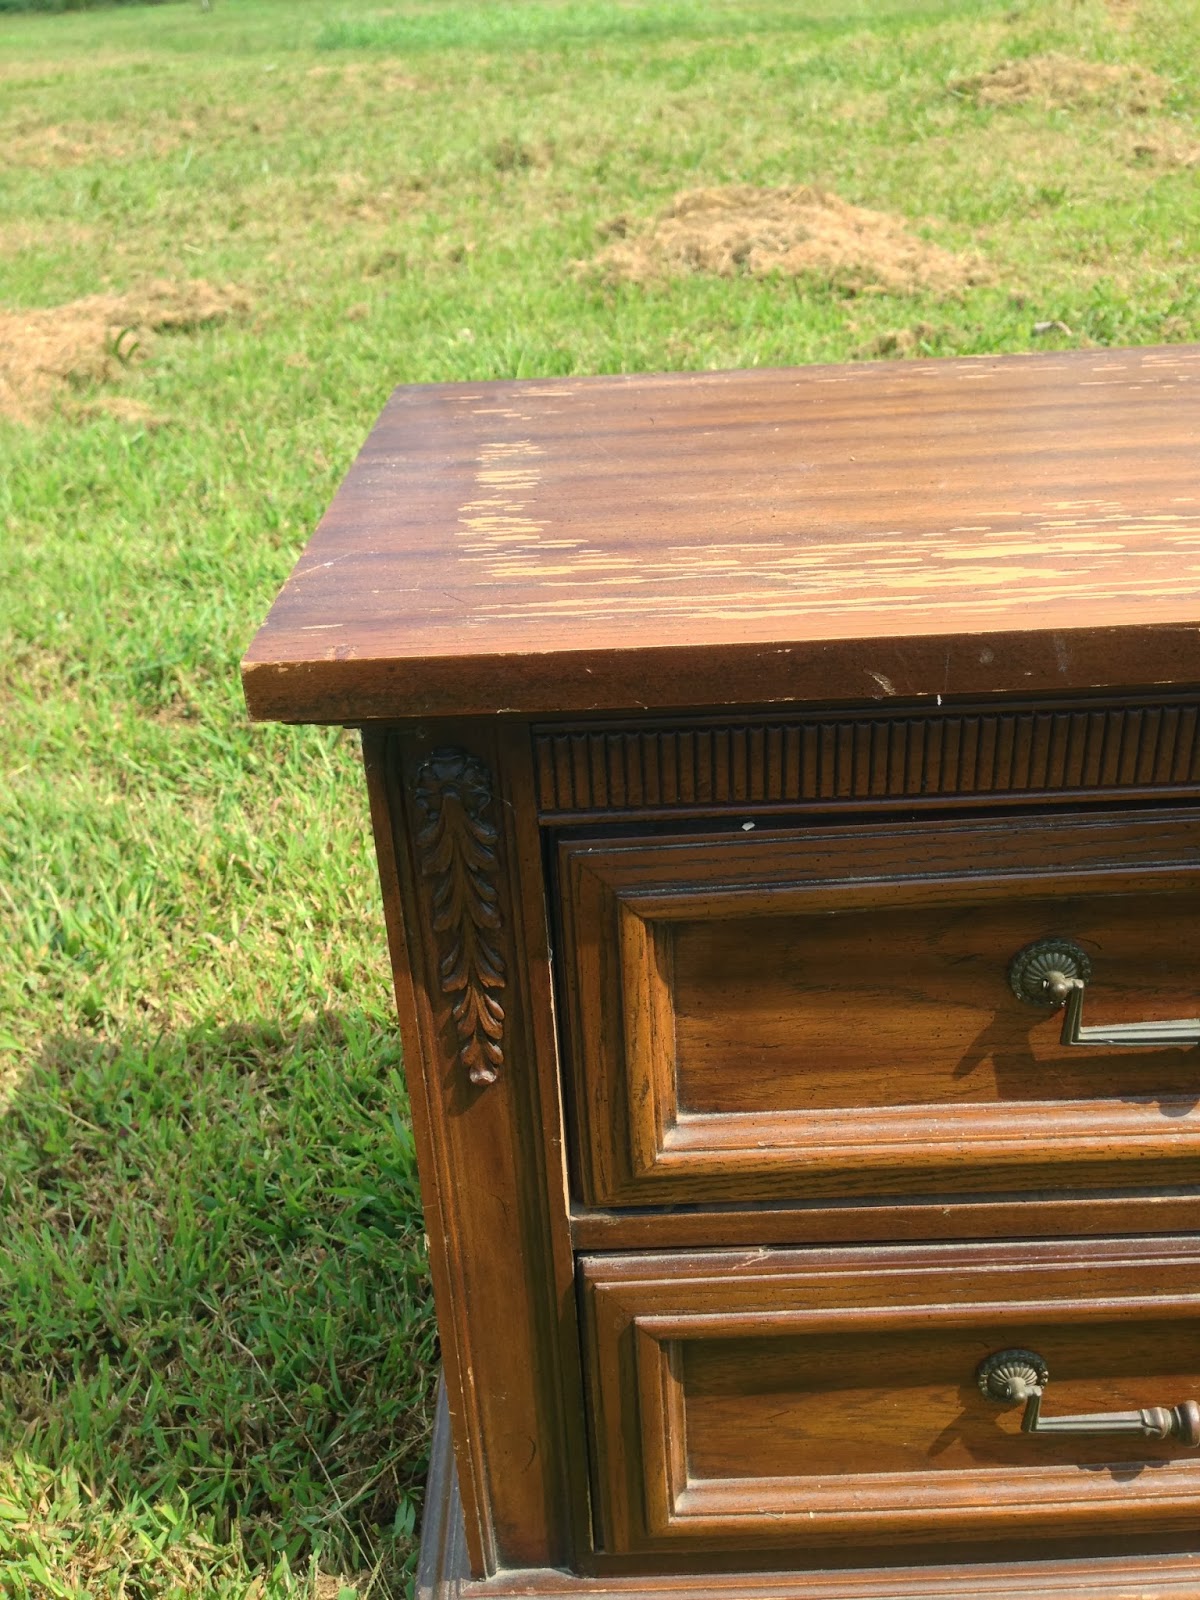
Such pretty details on this one and she distressed beautifully!

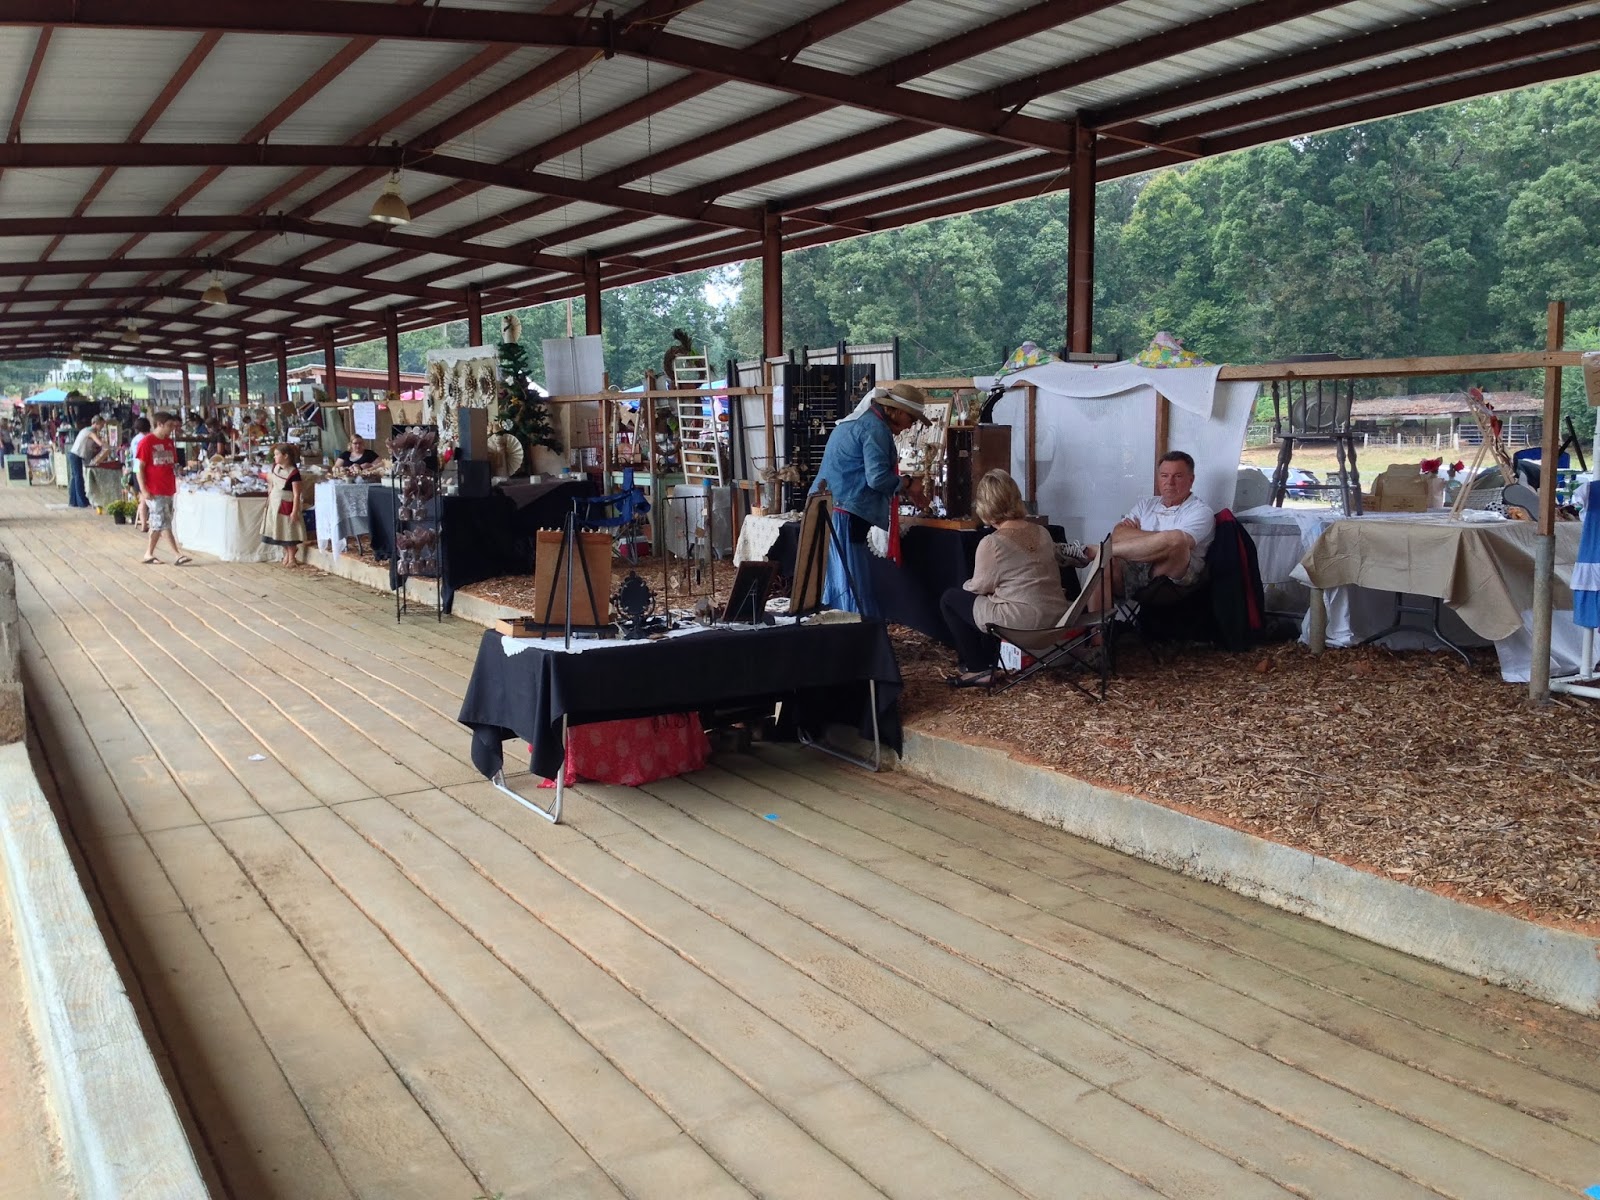
There's a closeup, sort of. I just cropped one of the pictures. I wish I'd taken a better one but I actually took this at the fair.

Well, that's all for today. Ha, not bad, right? Now I've got to sell all this to make some room because I'm packed!

Friday, August 9, 2013

Early reveal! Yay!

I got done with my pieces early enough to get pictures today so that was unexpected. SO I have one of my reveals early for you. The other I actually didn't get pictures of because I'm going to have to get my husband to help me move it but I'll have that one for you tomorrow. :)

OK, so if you've been following me you know that I've been working on a Union Jack dresser for some time now. I was mainly waiting on the matching nightstand to be delivered but I finally got it this week and was able to finish it all up. That feels nice. So this piece took me (the big dresser) 15 hours!!!!!! The longest part was figuring out the flag but of course I found a lovely "map" of it on Pinterest which I'll be sharing with you, and that helped but still...I taped and retaped a few times. I had already decided I was going to do the flag on the drawer of the nightstand when I got it but when I sat down to map it out it just wasn't going to work. I felt like it just wouldn't look right so I decided to just paint it red. OK, so before I show you the pictures I'm going to give you a few tips. First of all, use the map thingy (here). Second, wherever you're going to paint the flag, paint the entire thing white first, or whatever color you plan to use for the white places. I thought I was so smart and the I took the tape off and realized that I would either have to tape it again around the white or very carefully hand paint it. The taping took forever so I hand painted the white in super carefully and still ended up having to touch it up. My pretty lines weren't as pretty. I guess there's not a third but those are big ones. Oh, third, have a tape measure on hand. So yeah...anyhoosers, now we get to the pictures. :)

Before...I totally forgot to take my own but these work just fine.


And after!


I glazed over both the dresser and nightstand to antique it. I think it adds so much more charm to it. Perfect is kind of boring. So there ya go. And I'll see you tomorrow for a tv console reveal. Happy Friday!!

Wednesday, July 31, 2013

FINALLY!!

I know it's been a while since I've posted but I have been a busy bee! I've been working on two nursery sets, a dresser and nighstand set, and a chair makeover. I have the chair after pic for you today (I forgot to take a before! :( ), and one of the nursery sets is complete and being picked up today.

First off I'll show you the chair. It was a Craigslist find by one of my clients. The entire chair was the same color as the seat to give you an idea of the before. I asked her to pick out a paint chip from Lowe's so we would know it would match and she dropped it off! She told me she wanted it lightly distressed but that her decor wasn't really cottage chic so not too much. I'm not much of a fan of heavy distressing myself, but a little light distressing really brings out the details sometimes.


I really love how it turned out! I do my best to only distress in areas that would naturally wear from use. I feel like anything more than that looks strange.

OK, now on to the BEFORE & AFTER of the first nursery set! Yay! I've not ever done this much furniture at once before and feel truly blessed. This client has a lot of future work for me and I can't wait to help her make over her home!

Before: It was a new set of furniture with some slight wear (her little girl is 11 months old) but she originally bought it thinking she was having a boy. When they discovered they were having a little girl she felt like this wasn't fitting. She wanted a super girly room for her princess. She actually found me via one of my Craigslist ads for a vanity I'd refinished and was selling and asked me to redo the rest of the furniture. Here are the before pics. The dresser and crib matched but she had a random side table she wanted painted so it fit better. I didn't take befores of the crib but you can get an idea.


She wanted me to paint the set white but didn't want it too white so I used a single layer of dark wax to darken and add some dimension. She also wanted more girly hardware. I knew EXACTLY what I was going to use. As a matter of fact I had already purchased a few for when I redo my own furniture...which is lucky because Hobby Lobby didn't have enough for this job so I ended up using them. Rest assured I will be getting more for myself when the time comes. ;) Anyway! Here are the after pics!


I love these knobs even more now getting to see them on a piece of furniture! That's all for now! But I will have another nursery set for you on Saturday or Sunday...or Monday. It's my husband's birthday weekend so I'm not sure how much time I'll have to blog but I promise it'll be less than a week! Later Gator!