Showing posts with label DIY. Show all posts

Wednesday, March 26, 2014

Happy Spring!

Well I'm back. I've not been lost in the winter void...or was I? OK, maybe I was a little. I have a few makeovers to show you today and hopefully you'll like at least one of them. ;p

Alright, so I guess I'll go backwards because that's how my memory is working today. This desk was neglected. Oh so neglected. It was covered in mold and was grimy and gross. The poor woman that owns it had sanded her heart out to try to get rid of the mold but all she needed to do was call me. Well, she did, but not before she wore her arms out, I'm sure. It just needed a litle TSP...or A LOT of TSP and A LOT of paper towels. Cleaning pieces is not my favorite part. Here is the before picture of the poor thing.


Some of the not white parts you see is wood grain but most of it, folks, is grimy white. Yeah...it was kinda bad. So she decided she wanted a Chinoiserie style and that's what I did. I painted the whole thing red, then black on top and distressed so that the red showed through. The hardware, which is obviously not shown, was painted gold. Now I do not normally like gold anything but it really popped against the black and I'm quite fond of how this desk turned out. Of course, I'm biased I suppose. I did paint the thing.


The pictures aren't great. It was too sunny, I think (aww, for shame). Great for painting, not for taking pictures. Anyway, you get the feel for it!

Let's see, this next one is pretty straight forward. We have a plain cedar chest and a side table. The side table had been painted previously and even looked like it had been antiqued but it looked more like a lot of stuff had been spilled on it and didn't get cleaned from the crevices. Yeesh...it looks much better after. She just wanted a clean, simple yellow for both.


OK, this last one was some work. I should have known better but apparently I didn't. It is a mahogany vanity. What does mahogany do? It bleeds. It bleeds like no other piece of furniture has bled before in the history of furniture. So I painted it white, la di da. I come back an hour later and the whole thing is pink. I go about things the stubborn and hard way and paint it white again. There, that should do it. Nope...it's just a little less pink. Oooooookkkkkk, fiiiiiiiiiine! I guess I'll get in my car and trek five whole miles to Lowes to get some shellac...what a burden!! So I do and then I shellac it, and then I paint it white. Lord knows it was better but gosh dang it if there weren't a few places with a delicate shade of pink. So I shellac it again....paint it white....again........and then put the poly on. OK, finally, it's white. The whole thing....Oh, and I gave it a new cushion and upholstery job. :) OK OK, here is the before and after.


I antiqued it a little bit to bring out the details which were lovely.


That's all folks! Now that I'm back in the game I'll be posting much more regularly. Hopefully weekly if business gets good! See you soon!

Monday, August 26, 2013

Me time

I actually took a weekend and did something for myself! I had a little break in between clients so I found myself a $20 table, used an old hutch that had come with a dresser I purchased (I knew I'd end up using it for something), and spend $15 on a 10 foot pine board at Lowe's. The hutch had a mirror in it so I removed the mirror and the corner shelves (useless) and replaced them with the cut pine boards. I used corner braces to screw them in a few places since the shelves would be holding lots of paint. They needed to be sturdy. I cleaned it all up well, primed it and then painted it Turkish Tile from Valspar. I wanted a BRIGHT and RICH color to keep me happy while working hard out there in that sad, blah garage. OK, so here are all the befores...


The next two are in between pictures of the hutch. I had removed the mirror and corner shelves and then installed the new shelves.


Primed...It looks better already, doesn't it?!


And here it is put together and then all set up with supplies!


I'm sooooo happy I had time to get this done because I'd already been so unorganized for a while and it was only getting worse! I still haven't gotten everything in order but this is a big start. I think I'll get some storage bins or hey, maybe even a cheapo Craigslist dresser for more storage underneath at some point. I am so proud of myself! :)

I have another reveal coming up in a day or two of a 1930's Typewriter desk and a chair the client brought to go with it. She wanted the top of the desk stained the same color as the chair and then the seat reupholstered. It looks amazing! It was A LOT of work, that desk. It was in rough shape, much more so than it looked but it's done (whewf!) and I'll have pictures by Wednesday. Then I have another small nursery set in the next week and it's NOT white! So that's going to be fun. Alrighty, I'm off! See you all soon!

Friday, August 9, 2013

Early reveal! Yay!

I got done with my pieces early enough to get pictures today so that was unexpected. SO I have one of my reveals early for you. The other I actually didn't get pictures of because I'm going to have to get my husband to help me move it but I'll have that one for you tomorrow. :)

OK, so if you've been following me you know that I've been working on a Union Jack dresser for some time now. I was mainly waiting on the matching nightstand to be delivered but I finally got it this week and was able to finish it all up. That feels nice. So this piece took me (the big dresser) 15 hours!!!!!! The longest part was figuring out the flag but of course I found a lovely "map" of it on Pinterest which I'll be sharing with you, and that helped but still...I taped and retaped a few times. I had already decided I was going to do the flag on the drawer of the nightstand when I got it but when I sat down to map it out it just wasn't going to work. I felt like it just wouldn't look right so I decided to just paint it red. OK, so before I show you the pictures I'm going to give you a few tips. First of all, use the map thingy (here). Second, wherever you're going to paint the flag, paint the entire thing white first, or whatever color you plan to use for the white places. I thought I was so smart and the I took the tape off and realized that I would either have to tape it again around the white or very carefully hand paint it. The taping took forever so I hand painted the white in super carefully and still ended up having to touch it up. My pretty lines weren't as pretty. I guess there's not a third but those are big ones. Oh, third, have a tape measure on hand. So yeah...anyhoosers, now we get to the pictures. :)

Before...I totally forgot to take my own but these work just fine.


And after!


I glazed over both the dresser and nightstand to antique it. I think it adds so much more charm to it. Perfect is kind of boring. So there ya go. And I'll see you tomorrow for a tv console reveal. Happy Friday!!

Thursday, August 8, 2013

Just a small request

No new furniture today but I do have two reveals on Saturday. Today I just wanted to give you all the link to my Facebook page and humbly ask that you take a look and "Like" it. I also have a giveaway going on so if you're in the Upstate SC area you could win a $40 gift certificate that you can use towards a purchase of any piece I have for sale or custom work. If you aren't in the area I would still greatly appreciate a "Like". Word of mouth is all I've got right now and it truly does mean the world to me. Thank you so much in advance for your support! I'll see you guys on Saturday!

My Painted Cottage FB page link: The Painted Cottage SC

Saturday, May 4, 2013

Friday reveal! Scratch that...Saturday reveal!!

I started this post yesterday but for whatever reason I could NOT get my pictures to upload. I had the same problem last time but it remedied itself in the same day. Oh well...so here it is.

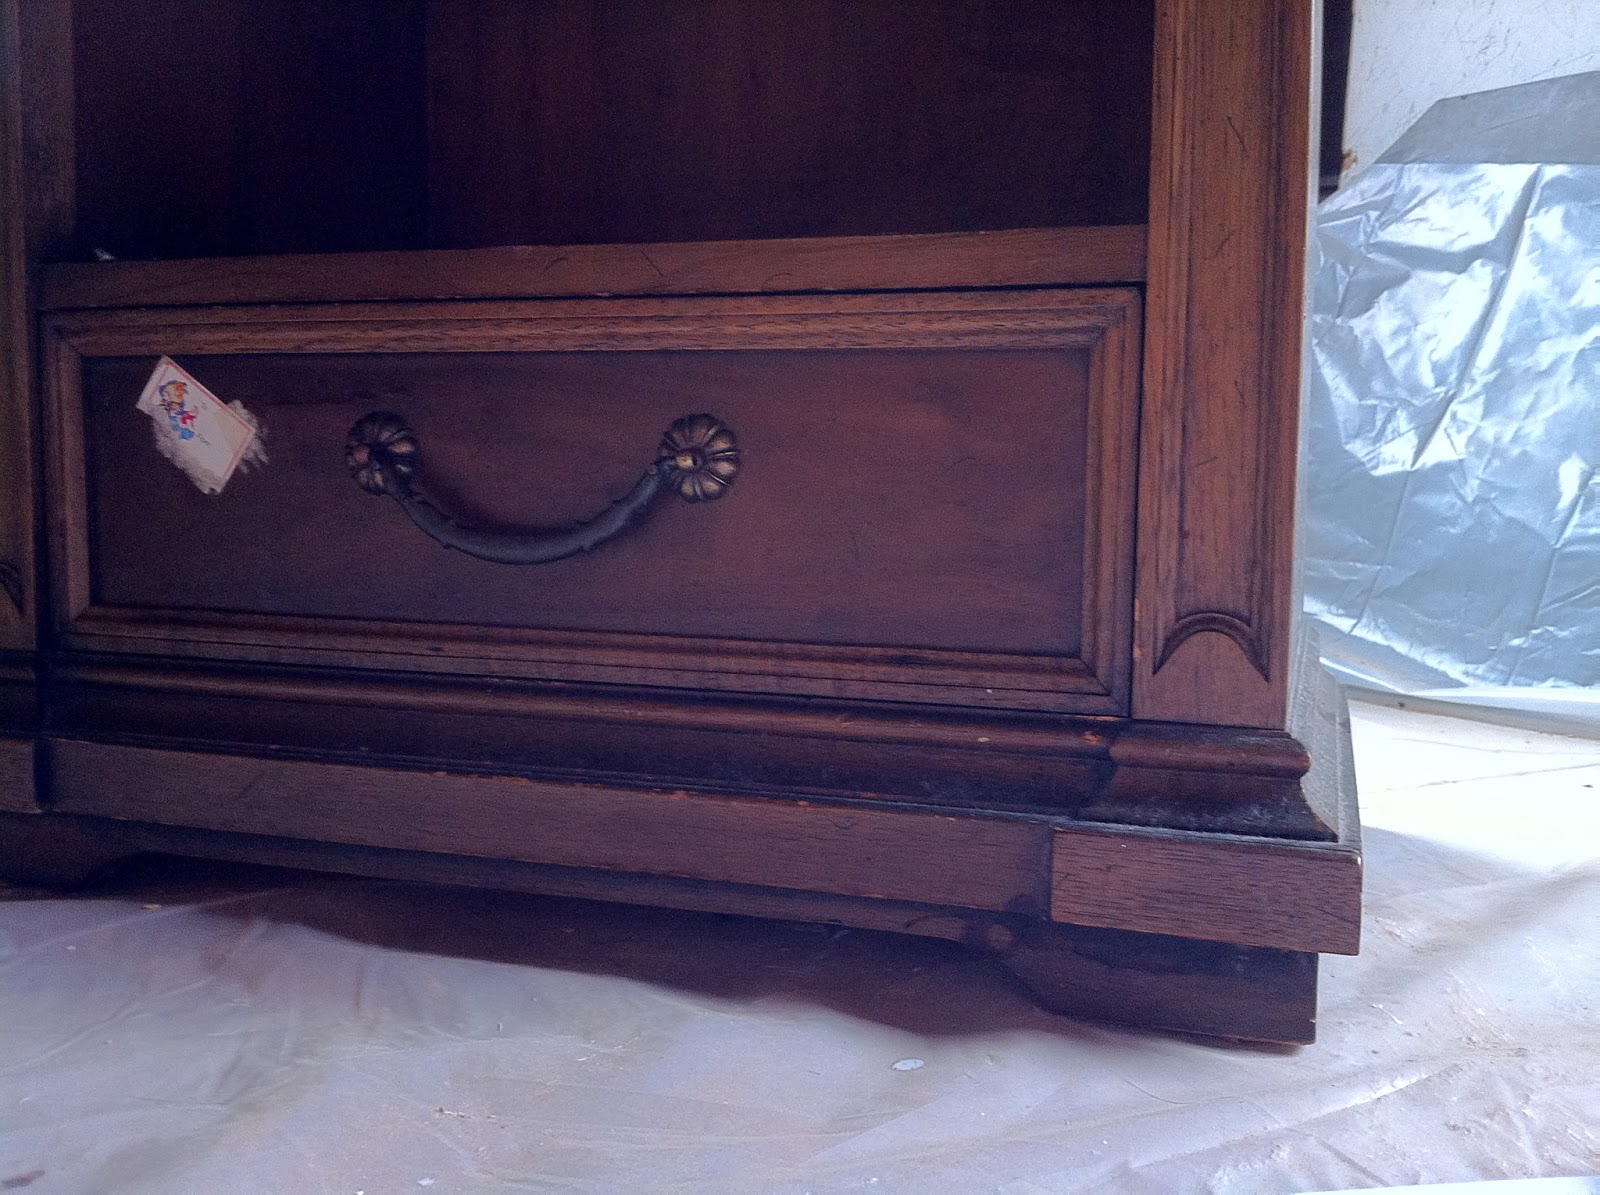
I did it! I figured out what I wanted to do with the nightstand AND it's finished on time (Fridays are my self given deadlines). Ok, so it's not bad looking before, pretty good shape except for a random sticker here and there and those came off quite easily! So here she is before...


See? Certainly not a bad looking nightstand and I love her lines! OK OK, here she is after. :)


Such a lady! I love the drawer pull! I had it posted on my Facebook shop page for only a few minutes before I had someone contact me about buying it. She's coming this afternoon so if all goes well this sweet, ladylike nightstand will be going to a new home today!

Here's my Facebook page (again) if you're interested in taking a gander. https://www.facebook.com/ThePaintedCottageSC Go ahead and "Like" it while you're there! I'd certainly appreciate it! Thanks y'all!!


Sunday, April 28, 2013

Better late than never


So I'm a smidge late posting this one. I finished it the Friday before last but have been soooo busy I just didn't have the time or energy to write a new post. Anywho, the last dresser I posted about and this one I'm about to show you I bought together. They were both older dressers and showed it. This one was interesting to say the least. Here's the before.


It  doesn't look terrible but the white paint was matte and uneven and scratched up, yadda yadda. It needed to be stripped, no doubt. I started with the sander but realized that even with electricity it just was going to be too much work so I caved and bought chemicals. The upside to that is that I used Citristrip which is greener than the typical strippers so I didn't feel too bad about it.


By my count this dresser has been painted at least 7 times. And if you look at the picture below you can see that on the very bottom of all the paint there were graphics on the dresser. I made one out as a rocking horse and another was children, which I couldn't tell until I was actually scraping the paint off. I always think it's neat when you get a little bit of the history of a piece.


Can you see the rocking horse?


I actually had to apply stripper more than once in a few places. The paint was stubborn in some places.


 After stripping off as much of the paint as I could I went back to sanding and FINALLY painting! I cleaned the original glass knobs and she was finally ready for her closeup! Yay!


I've got several pieces I'll be working on over the next few weeks. I think this week's reveal is going to be an old bench I've had for at least 10 years and a night stand I picked up for free on Craigslist. You can see the other pieces I've worked on on my Facebook page. Head on over there and "Like" my page! See you again this Friday!

Friday, April 12, 2013

And here it is!

Well, one of them anyway. I'm super happy with how this turned out. I may have mentioned before that I was inspired by a table I had pinned on Pinterest. I wanted to do a gender neutral dresser because the first one was soooo girly and the next one will be feminine but more grown up. I didn't want to pigeonhole myself into a girls only corner. This is where I got my inspiration from. And now, here it is!

This is obviously the before and so sorry about missing drawers. I had already started sanding the top when I realized I hadn't taken a before picture.


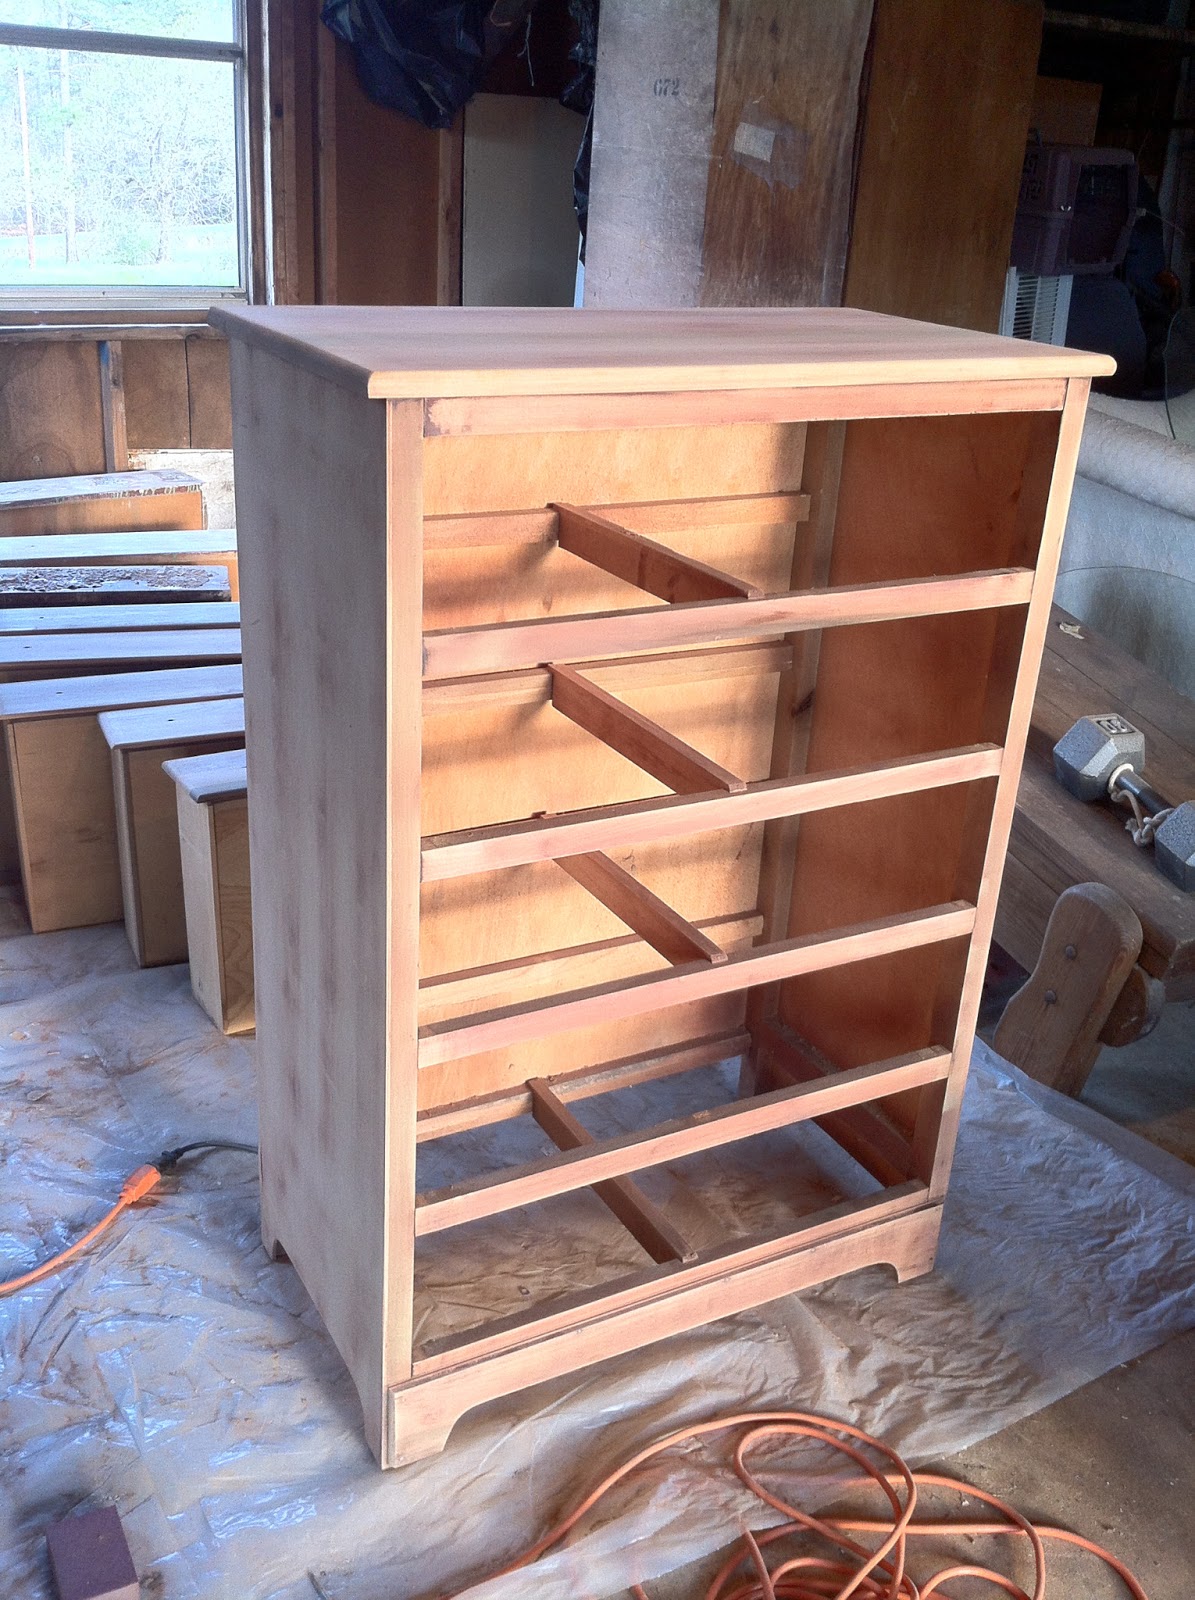
And a few in betweens. The wood is so beautiful! I was so glad I'd already decided to stain it!


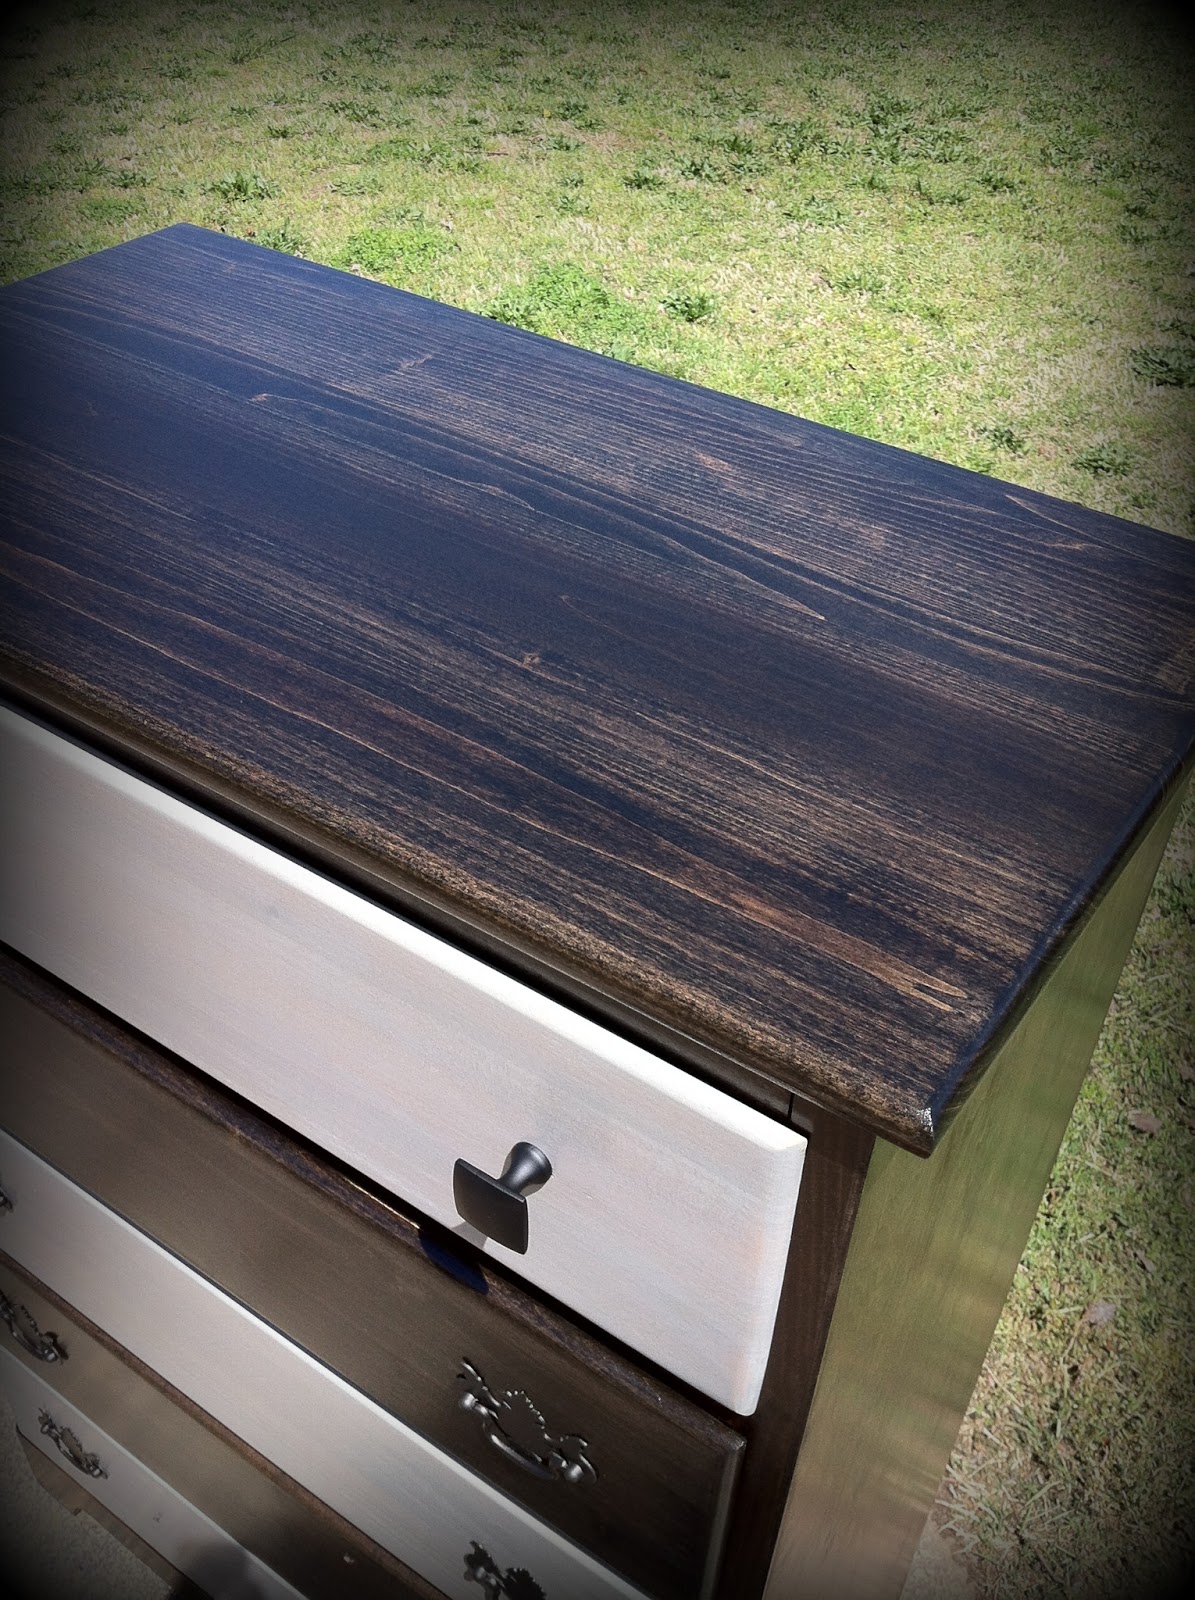
 And finally the after! I stained it in Ebony and then alternated the drawer with Sunbleached. The hardware is all in Oil Rubbed Bronze.


And there it is. It feels modern but also a bit nautical. I love it and my husband does, too. He actually said, "This one is going to be a bit hard to part with, huh?" :)

Oh, and check out my Facebook page I set up for selling my furniture. I don't know how to do those linky link things yet but here's the web address. https://www.facebook.com/ThePaintedCottageSC