Showing posts with label Chalk paint. Show all posts

Thursday, June 13, 2013

It's been a while

Well, I realize it has been a while since I've posted but I haven't forgotten! I've just been so busy that I took some time off of refinishing furniture to get some stuff done around the house. That is the beauty of my job...gosh dang I love it. Anyway! I just finished a dresser yesterday for a customer who wanted to do an Americana theme in her boys' bedroom. She wanted a dresser to go with that but didn't want it to be something that would grow outdated too quickly. I suggested blue because you can change your decor to just about anything and it still work and she took my advice. I really love this dresser. If it hadn't already been promised to someone I would have brought it straight in the house last night and loaded it down with my husbands clothes!

So here is the before. Just a plain old dresser, although the details are nice, and mismatching/missing hardware.


I used Valspar Indigo Streamer and made my own chalk paint, distressed it a little, then put two coats of polyurethane on it and updated the hardware. And here we are!


I'm going to get more of this color because I like it so much! Oh, and one more thing! I finally got some business cards and I'm just so proud and plus they are super pretty so here is a picture of that!


Yay! Ok, see y'all next time! I'm going to try to get several pieces done by next Friday so I might post a lot next week. Just keep checking back. And have a look see at my Facebook page HERE! And do me a huge favor and "Like" it. Word of mouth is my only real life source so I depend on people such as yourself to spread the word. I appreciate it and have a wonderful weekend!!

Wednesday, May 15, 2013

Missed a week but...

Making up for not posting a reveal last Friday! I've got TWO for ya! I'm working on trying to up how much I can get done in a week and it seemed to work. Ok, so this first one was a Craigslist Curb Alert, missing a drawer. I even picked it up in the rain! But it turned out well. I wasn't sure what I wanted to do but once I noticed the handles had pineapples on them I knew I wanted a Charleston feel to it. I bought some cute baskets to go in the bottom. They don't fit perfectly...who knew that would be so hard to do but I've decided to sell it with or without in case someone has their own baskets or doesn't like the ones I purchased. This one gave me some trouble with the second drawer but with some help from my husband I remedied it and now for the reveal!

Before, old, worn, missing a drawer...


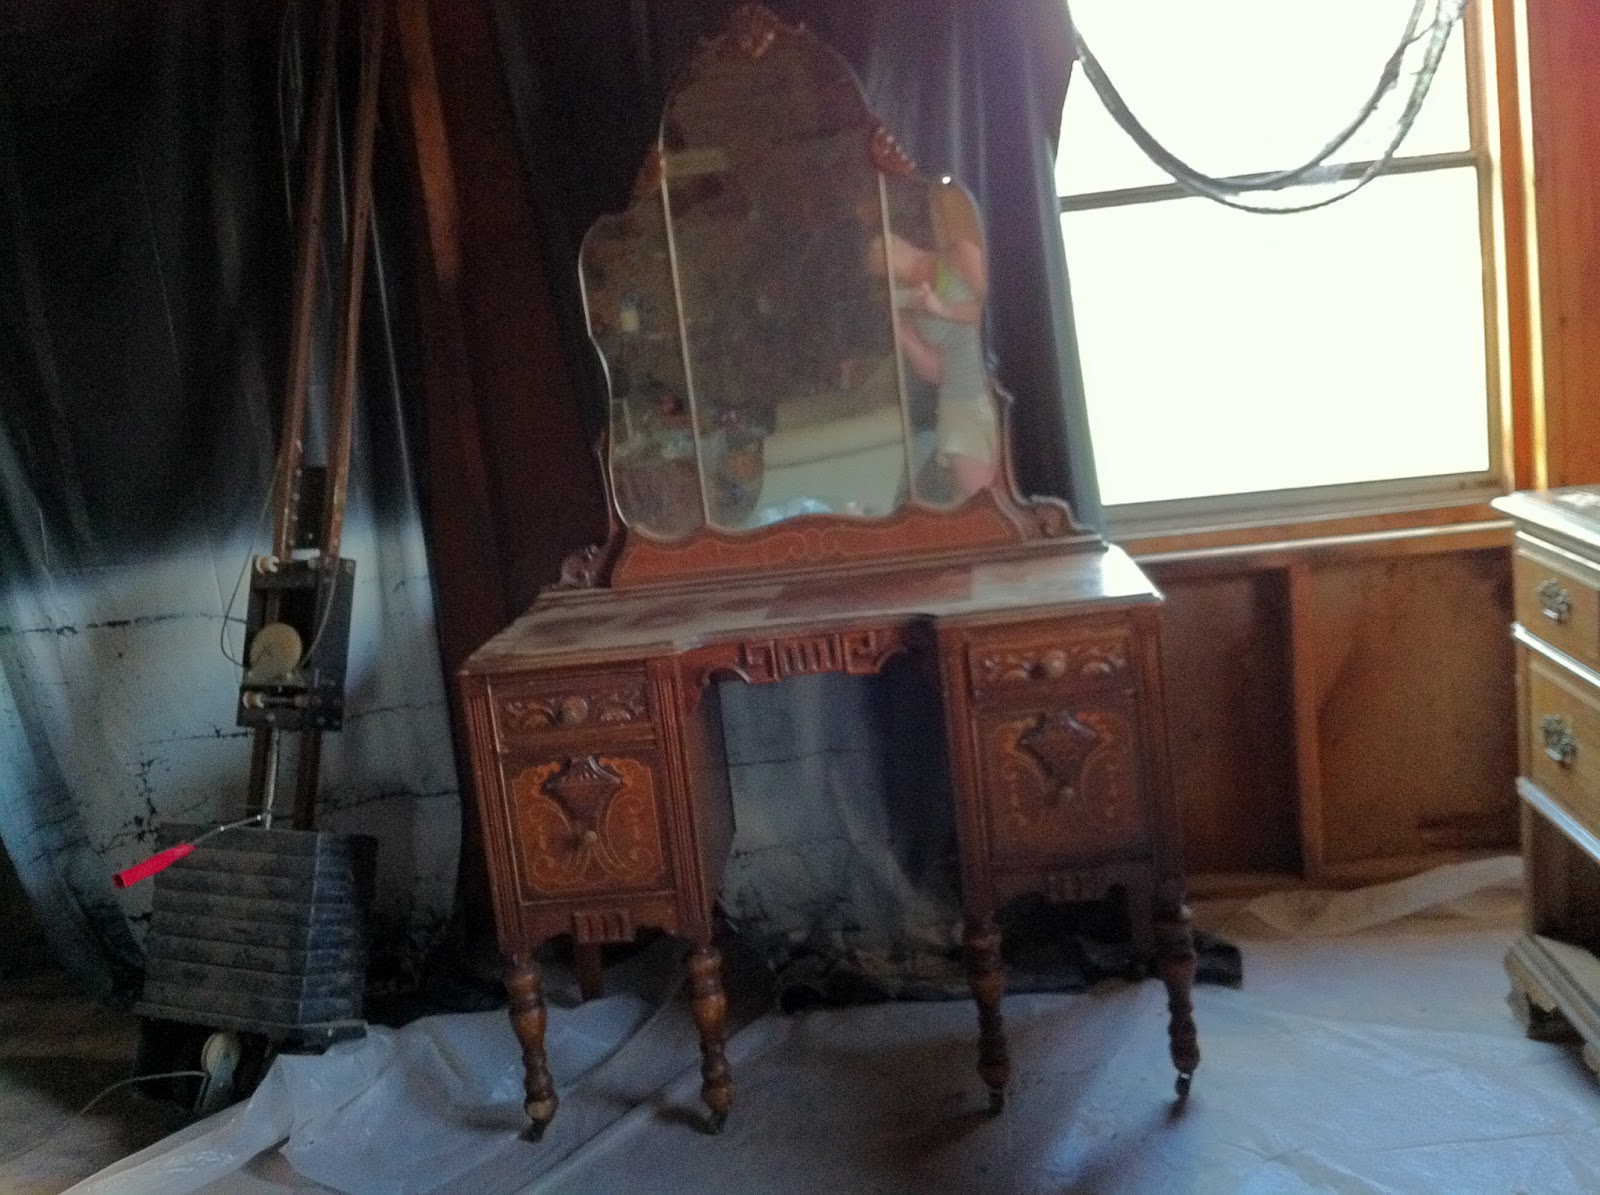
And that brings me to the next one! I am seriously proud of this piece! It was actually the first piece I acquired on this new journey to refinish furniture but I had been too scared up until recently to even attempt what I wanted to do with it. I loved the ornate drawers and the fact that it had the original casters. Not a bad looking vanity to begin with but I feel like a breathed a whole new life into it!

Before, just stained but in different colors so you could actually see the details.


And after! I created a custom blue and added antique glazing then did the hardware in oil rubbed bronze.


I LOOOOOVE IT! I would love to keep this piece but I'm far from having my dream bedroom just yet. I hope someone loves it to death! Thanks for looking!

Tuesday, April 30, 2013

Ooh la la!

Well this one didn't take long at all and I think it turned out too cute! This sweet little bench has been hanging around with me for more than 10 years. I never knew what to do with it but kept taking it with me when I moved. I finally found it's calling!

I want to apologize for the millionth time about forgetting to take before pictures. I'm just terrible at remembering but here's an "Oops, I already started painting it but you kind of get the idea" shot.


And here she is all finished!


What I did was make my own chalk paint with some unsanded grout and white latex paint I had lying around. I then printed out the French Typography on freezer paper (I'm thinking it would work find with wax paper but I haven't tried that yet, although, they are the same?). I printed it backwards because I was going to be pressing the ink into the wood. I tried a mod podge technique before and apparently you have to have a laser printer. I only have an inkjet. And Voila! At first I was thinking it was a little too white but it's starting to grow on me. Now I just need to wax her up to protect the typography and off she'll go to a new home!

I have one more project I'm going to try to finish by Friday but we'll see because I'm having a hard time deciding what to do. So, maybe I'll see you Friday! Fingers crossed. ;)