Tuesday, April 30, 2013

Ooh la la!

Well this one didn't take long at all and I think it turned out too cute! This sweet little bench has been hanging around with me for more than 10 years. I never knew what to do with it but kept taking it with me when I moved. I finally found it's calling!

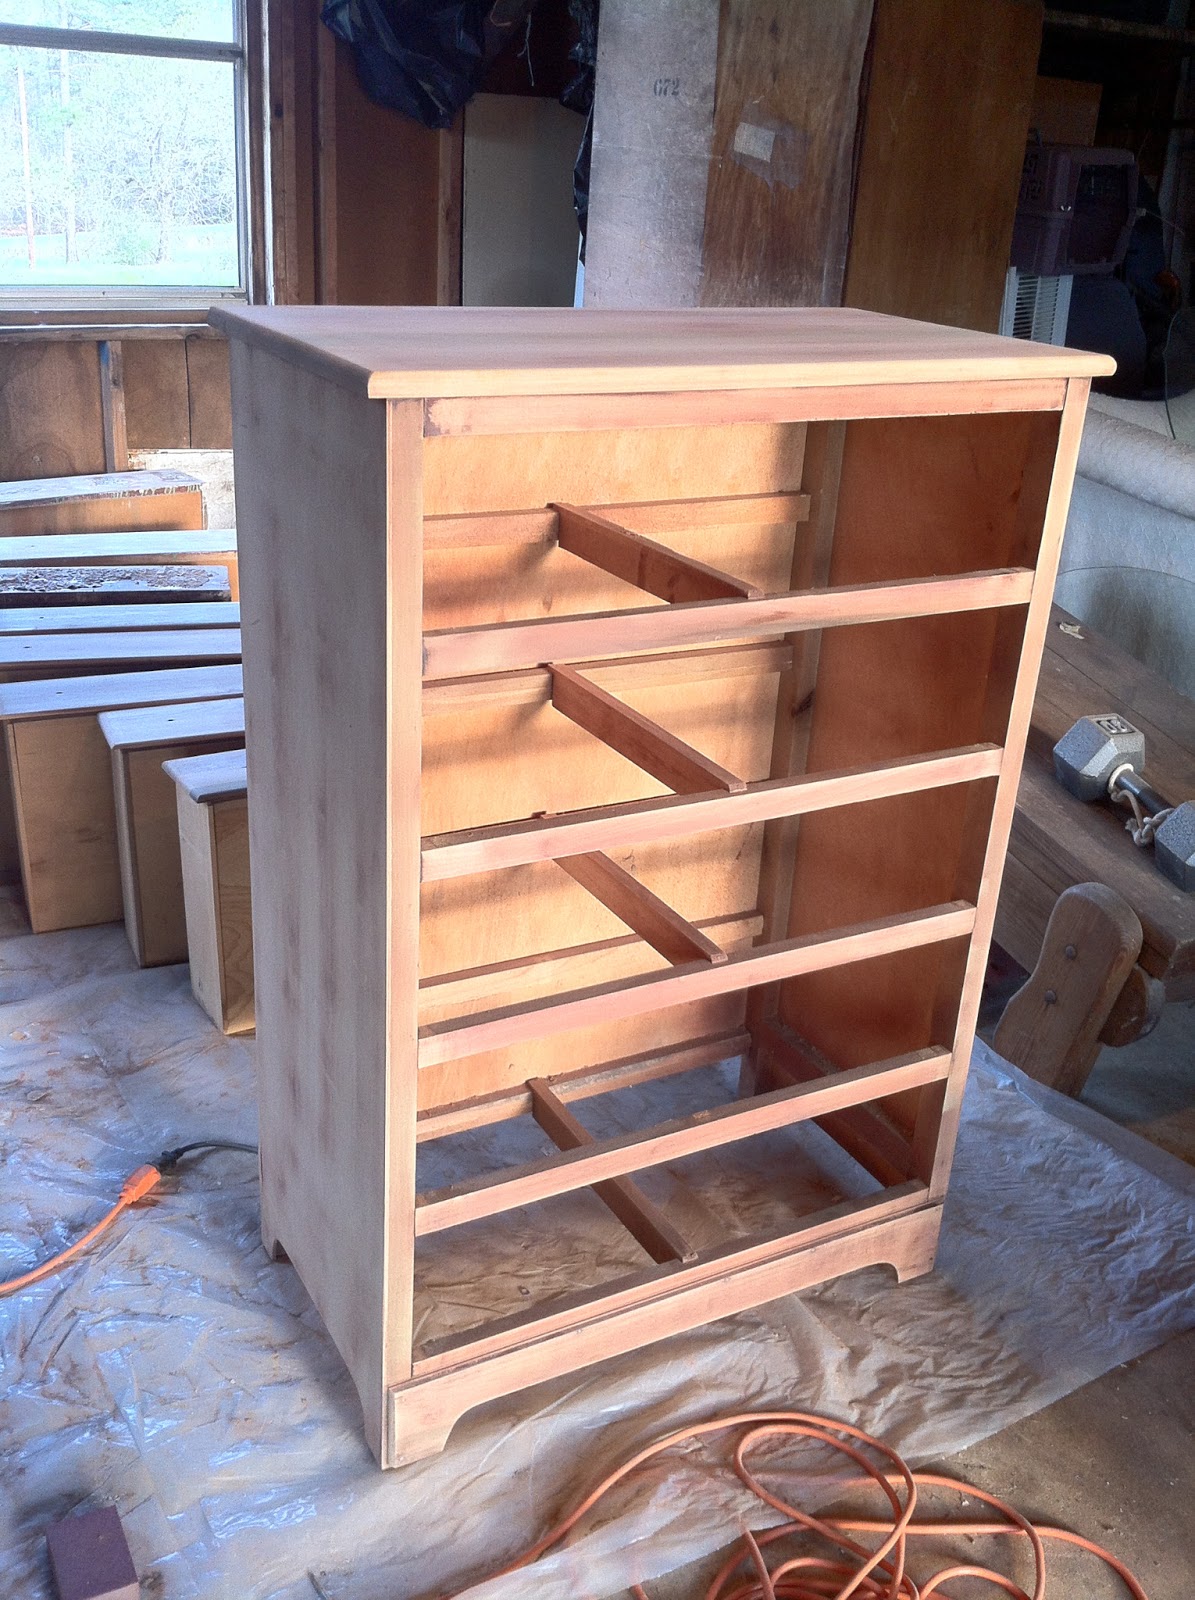
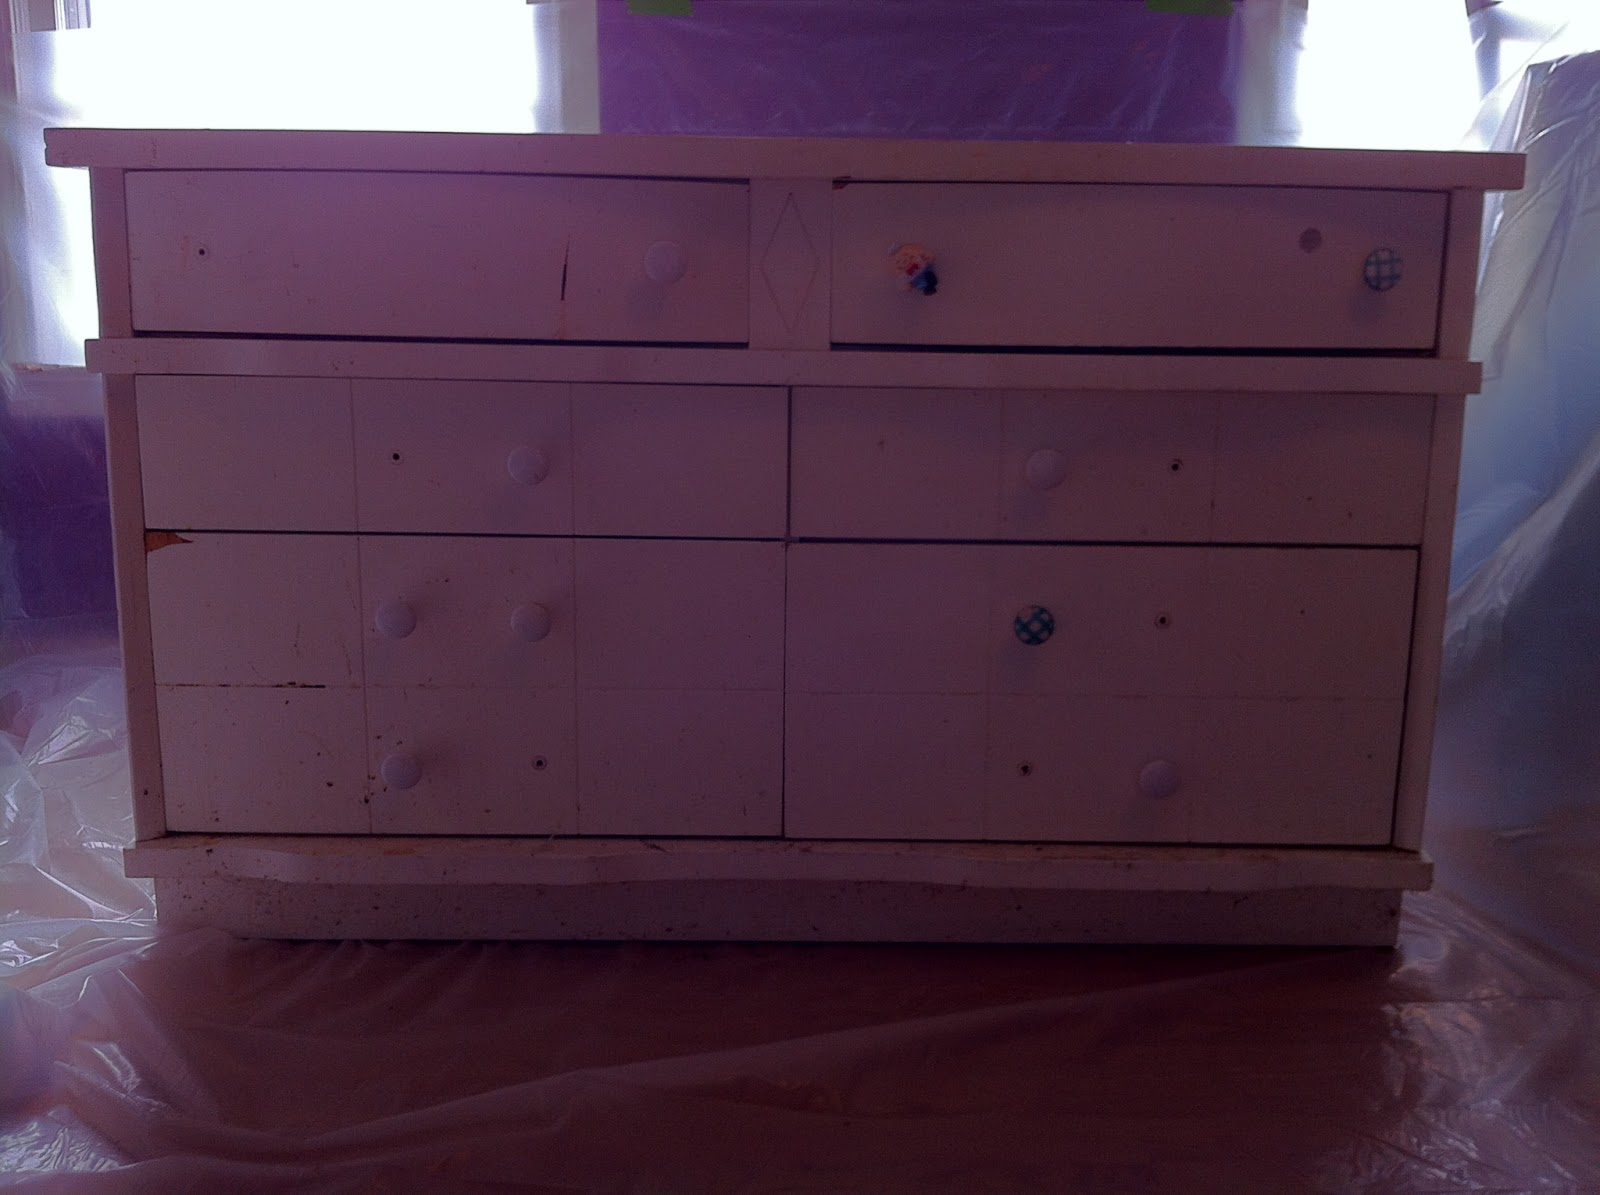
I want to apologize for the millionth time about forgetting to take before pictures. I'm just terrible at remembering but here's an "Oops, I already started painting it but you kind of get the idea" shot.


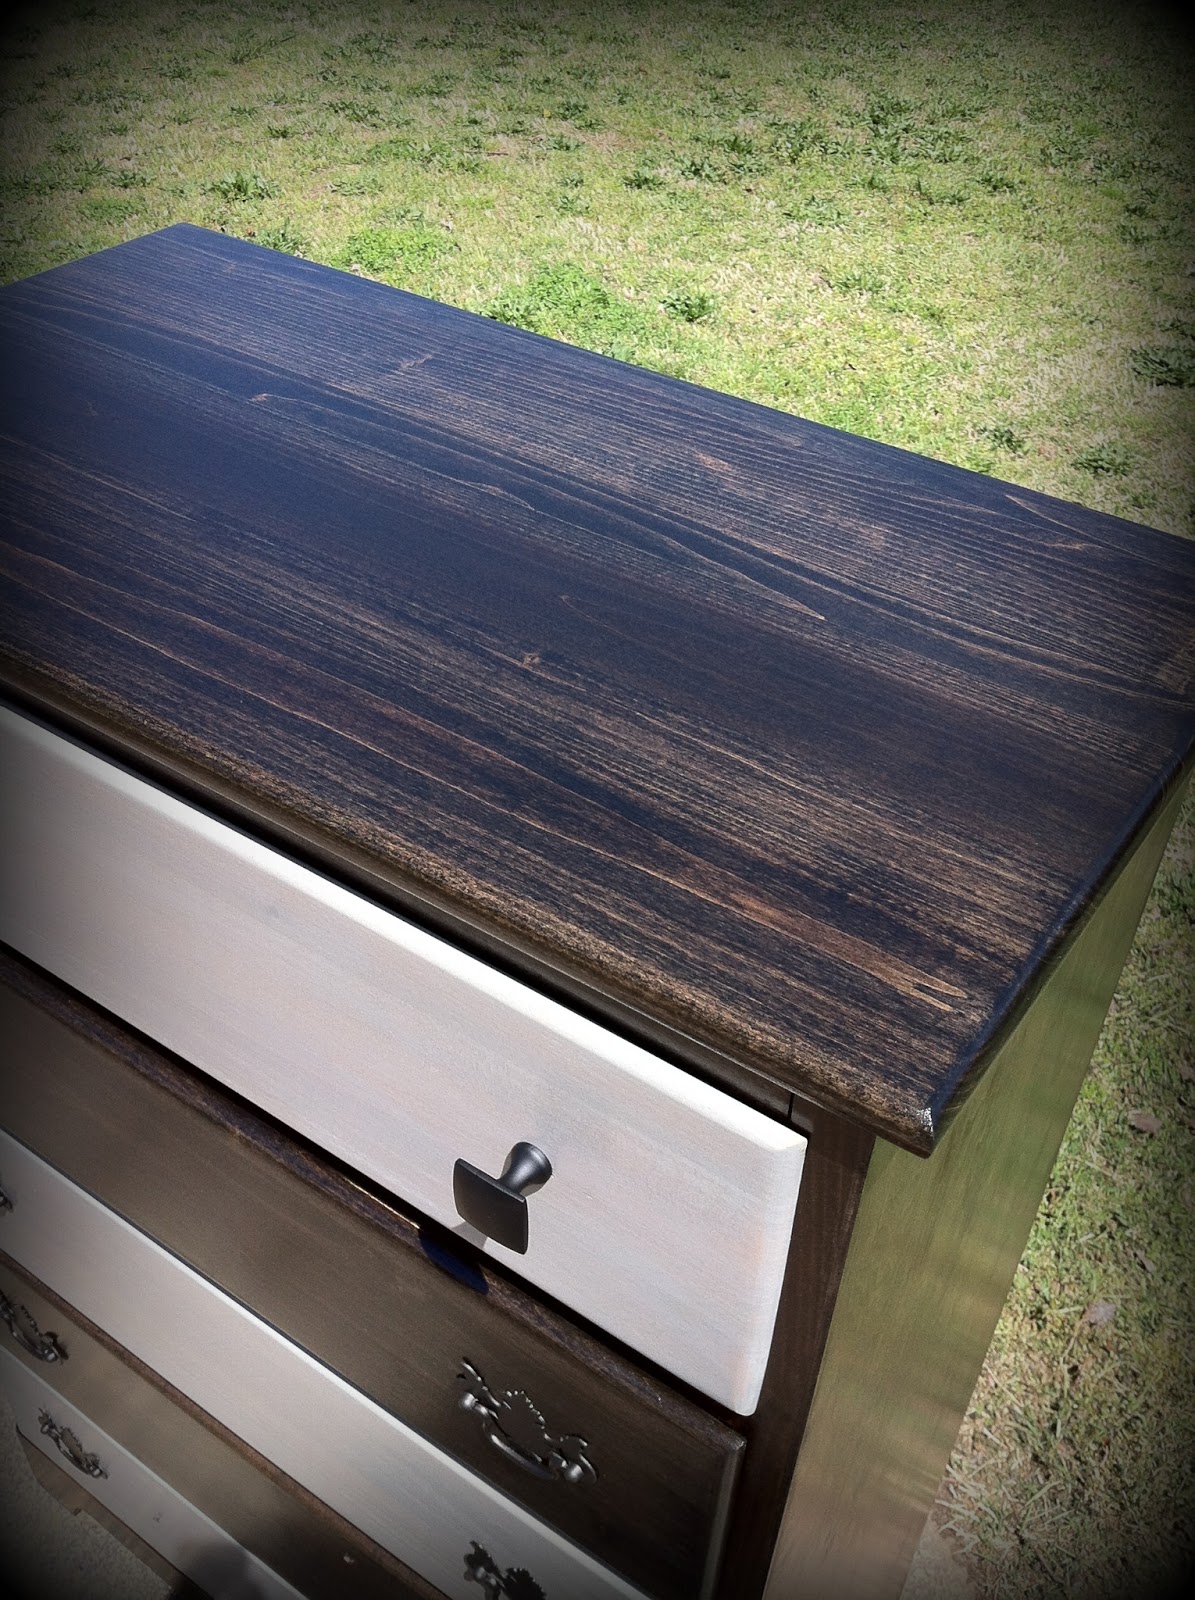
And here she is all finished!


What I did was make my own chalk paint with some unsanded grout and white latex paint I had lying around. I then printed out the French Typography on freezer paper (I'm thinking it would work find with wax paper but I haven't tried that yet, although, they are the same?). I printed it backwards because I was going to be pressing the ink into the wood. I tried a mod podge technique before and apparently you have to have a laser printer. I only have an inkjet. And Voila! At first I was thinking it was a little too white but it's starting to grow on me. Now I just need to wax her up to protect the typography and off she'll go to a new home!

I have one more project I'm going to try to finish by Friday but we'll see because I'm having a hard time deciding what to do. So, maybe I'll see you Friday! Fingers crossed. ;)

Sunday, April 28, 2013

Better late than never


So I'm a smidge late posting this one. I finished it the Friday before last but have been soooo busy I just didn't have the time or energy to write a new post. Anywho, the last dresser I posted about and this one I'm about to show you I bought together. They were both older dressers and showed it. This one was interesting to say the least. Here's the before.


It  doesn't look terrible but the white paint was matte and uneven and scratched up, yadda yadda. It needed to be stripped, no doubt. I started with the sander but realized that even with electricity it just was going to be too much work so I caved and bought chemicals. The upside to that is that I used Citristrip which is greener than the typical strippers so I didn't feel too bad about it.


By my count this dresser has been painted at least 7 times. And if you look at the picture below you can see that on the very bottom of all the paint there were graphics on the dresser. I made one out as a rocking horse and another was children, which I couldn't tell until I was actually scraping the paint off. I always think it's neat when you get a little bit of the history of a piece.


Can you see the rocking horse?


I actually had to apply stripper more than once in a few places. The paint was stubborn in some places.


 After stripping off as much of the paint as I could I went back to sanding and FINALLY painting! I cleaned the original glass knobs and she was finally ready for her closeup! Yay!


I've got several pieces I'll be working on over the next few weeks. I think this week's reveal is going to be an old bench I've had for at least 10 years and a night stand I picked up for free on Craigslist. You can see the other pieces I've worked on on my Facebook page. Head on over there and "Like" my page! See you again this Friday!

Friday, April 12, 2013

And here it is!

Well, one of them anyway. I'm super happy with how this turned out. I may have mentioned before that I was inspired by a table I had pinned on Pinterest. I wanted to do a gender neutral dresser because the first one was soooo girly and the next one will be feminine but more grown up. I didn't want to pigeonhole myself into a girls only corner. This is where I got my inspiration from. And now, here it is!

This is obviously the before and so sorry about missing drawers. I had already started sanding the top when I realized I hadn't taken a before picture.


And a few in betweens. The wood is so beautiful! I was so glad I'd already decided to stain it!


 And finally the after! I stained it in Ebony and then alternated the drawer with Sunbleached. The hardware is all in Oil Rubbed Bronze.


And there it is. It feels modern but also a bit nautical. I love it and my husband does, too. He actually said, "This one is going to be a bit hard to part with, huh?" :)

Oh, and check out my Facebook page I set up for selling my furniture. I don't know how to do those linky link things yet but here's the web address. https://www.facebook.com/ThePaintedCottageSC

Monday, April 8, 2013

Half way there

I spent 5 hours today on one of the dressers I'll hopefully be finishing by Wednesday. It's a tall one with five drawers. I decided to go masculine with this one. I spent and eternity sanding but I think there is a mojo to it because it seemed to go a little faster towards the end. Anyway, I was able to stain it, although I was doing it by twilight. I moved it to the driveway because there was too much dust in the garage so I took it outside and wiped it down and stained it there. Once I'd wiped off the excess stain I moved it back inside the garage to a less dusty area to rest. From what I could tell in the dim, yellow light of the garage it looks great! I may need to do a second coat to the very top of the dresser and I still need to paint the hardware or possibly replace. I haven't decided since only one of the pieces is broken. I may just make the top two knobs different than the rest. I think I have some bronze paint left so that they'll all match.

The shorter dresser is finally stripped. I had to do some touching up today. I'll start sanding it tomorrow and HOPEFULLY get started painting it. Wednesday I'll finish it up if I haven't and apply a few coats of polycrylic to the tall dresser. Last but not least, I need to find some paper to put in the bottom of the drawers to cover up old stains and whatnot and then they'll be ready to sell!

I'm really looking forward to showing these off. My first dresser was WAY girly so I want to show that I can do a more grown up feminine dresser and even do well at a man's dresser. I'm excited for the reveal! It should be no later than Thursday! See you then!

Saturday, April 6, 2013

Waiting

I have finally moved on to my second piece of furniture. It's another dresser, smaller, and I've decided to paint it white and yellow! I'm really excited about the yellow. This dresser has proven, already, to be a difficult one because after sanding just the top for nearly an hour (with an electric sander, mind you!) I gave up and went to buy chemicals. This thing has at least 7 different layers of paint on it, all different colors and when I went to remove the hardware whomever made it basically dug out the wood because the screws on the hardware weren't long enough so I'm going to have to fill those in with wood filler (I might need to get a bigger container!) and then find hardware with screws long enough to go through. The original hardware is nice and I was going to keep it but I just don't think I'd feel right selling it with giant holes where the knobs are. It looks sloppy. Or maybe if worse comes to worse I'll just cover it with contact paper which I'll have to get for the drawer bottoms anyway because they're stained and whatnot. Now I just need to find some decent looking paper.

So I just got back in from slapping two coats of Citristrip on it and the drawers and I'm waiting for it to do it's thing. I read a review on it from another blog. She was testing it vs the more caustic version and Citristrip won. Her project actually had several coats of paint on it, too, so I'm hoping mine turns out as well. I am actually painting it white again so if it doesn't all come off it's not a problem but because there were SO many layers of paint it was all sloppy looking and I couldn't just slap another coat on and expect it to be nice and smooth. That sander has met it's match!

I have a third dresser I'll be working on that's taller. I plan on doing something more masculine with that since my first dresser was super girly and the second one will be pretty feminine but more grown up. Unless I change my mind I plan on staining the body and some of the drawers ebony and every other drawer a sun bleached light stain. I got inspiration from a table I saw while browsing for ideas. I'm not sure what color I'm going to do the hardware. I haven't inspected it closely yet so I don't even know if I'll be able to use the original. It'll definitely be dark but not black. Maybe a charcoal grey or something along those lines, rubbed bronze, pewter...I'll figure it out.

Thursday, April 4, 2013

Refinishing furniture!

So I've stumbled across this awesome thing called "refinishing furniture". I've only done one piece so far but I am thrilled with the results and about nine days after setting it up for sale it's sold to a wonderful lady who will be giving it to her daughter. I'm so happy for them. It's going to look great in her room from what she described.

Here are my befores and afters. I found it one Craigslist. It was dirty, had stickers all over it and was missing some of the knobs with the ones it had being mismatched and cheap. I felt like the lines were feminine and I had a stencil I'd been dying to try. I mixed up some paint to create a new color and bought some knobs then went to work!


I'm pleased and I know the little girl is going to love it!